


Prepare Your Store for Its First Fiscal Sale
It is best to organize the start of work with PRRO step by step: identify your store’s needs, prepare an electronic signature, enable the option, and check the registration details.
In Torgsoft, PRRO is enabled as an additional paid option. Applications to register a point of sale, a software cash register, and cashiers can be submitted from the program. Before launch, allow time to check the data and prepare your sales staff.
What to Prepare in Advance
Identify Your Store’s Needs
Discuss with your accountant or tax adviser whether PRRO is needed in your particular situation. Prepare a description of your business activities, your tax system, and the ways you accept payments. If you need an official clarification, contact the State Tax Service (DPS).
Prepare Your QES
Check that your qualified electronic signature is valid and that its password is available. To register through Torgsoft, set up the enterprise and add the key of the entrepreneur or the director of the legal entity. If cashiers will be working, prepare their details and keys for registration in advance.
Enable the Option
Order and activate the additional PRRO option. Before enabling it, discuss how many cash registers and workstations you plan to use with the Order Department so you can agree on the terms for your store.
Organize Registration
Prepare the details of the enterprise, point of sale, and cashiers. You can submit the relevant registration applications in Torgsoft. PRRO registration itself is completed for the selected active business unit, so check that you have specified the correct point of sale.
Before submitting the applications, check the names, point-of-sale address, and details of the key holders. If you notice a discrepancy, first confirm the correct information, then continue preparing.
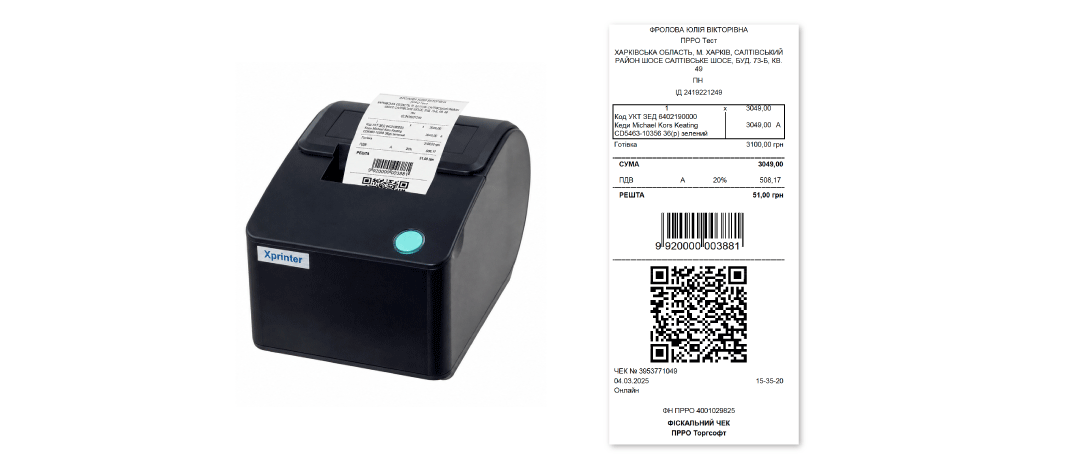
Check Products, Taxes, and Payment Methods
Prepare a list of products for fiscalization with your accountant and agree on the tax details. Separately check product names as they should appear on the receipt, VAT or excise tax rates where applicable, and the payment methods your store accepts.
Choose a few representative products from your range for checking. If you use different payment methods, prepare a separate scenario for each one. Ask a specialist to verify that the settings match the agreed details before the first actual sale.
Four Checks Before You Start
QES validity → PRRO and cashier registration → product tax details → receipt details are correct.
Agree on the Cashier’s Work Procedures
Before launch, agree with a specialist on a safe way to run a practice check. Prepare scenarios for a sale, a return, opening a shift, and closing it with a Z-report. Ask them to explain how sales staff should perform these operations with your cash register setup.
Also agree on what to do if the internet connection is lost. Find out whether offline support is configured, which current rules need to be taken into account, and how to check that documents have been transmitted after the connection is restored. Keep a short guide and the contact details of the person responsible for technical issues available to the cashier.
If you still have questions about keys, registration, taxes, or receipts, resolve them before opening the work shift.
Arrange PRRO Activation
Review the option terms and contact the Order Department on Telegram at @torgsoft_sale or by phone at +38 (067) 558 37 84. Describe how many cash registers you need and what you have already prepared for launch.
 Go back to the previous step