



Start designing your children’s clothing and shoe store with a customer flow plan: entrance → products by age and size → fitting → checkout. Mark places for accompanying adults and strollers, check access to exits, and put up clear size and price signs. Then choose colors, wall graphics, and decorative elements.
We recommend testing one concept first in a small area of the store. Factor in cleaning, repairs, and replacement costs, and bring in qualified professionals before changing electrical systems, ceilings, or the layout. All five concept illustrations are artistic sketches: they show design ideas. Ask the contractor to prepare a solution covering material selection, installation, and ongoing maintenance for your chosen concept.
Plan zones for browsing, fitting, and payment
Draw a floor plan showing doors, columns, outlets, fixtures, and exits. Mark evacuation routes and access points to firefighting equipment separately. Then add the retail zones and check how an adult with a child, a visitor with a stroller, and a salesperson carrying stock from the back room will use them.
- Entrance. Leave room for the door to open and for people to pause briefly. Place an overview sign for the product range where people can read it without blocking the entrance.
- Assortment. Use age groups for general navigation, then label the actual sizes within each group. Keep sizes in the same order on rails and shelves. Make sure each price tag clearly belongs to a specific item.
- Fitting. Provide a space nearby for items selected by the customer and a separate space for items the salesperson will return to the shop floor. For footwear, provide a stable seat and room to place both feet.
- Checkout. Check where the queue will form and whether an adult with a stroller can pass nearby. Set aside room for packing and returned items without taking up an aisle.
Practical check: ask a colleague to find a particular style in the right size, reach the fitting room, and get to checkout. Repeat the route with a stroller. Note where they had to move fixtures, go back for directions, or wait for an aisle to clear. Fix these problems before ordering decor. A designer should check aisle and doorway dimensions for your particular premises against the applicable requirements.
1. Nature theme: decorate one wall and preserve space for merchandise
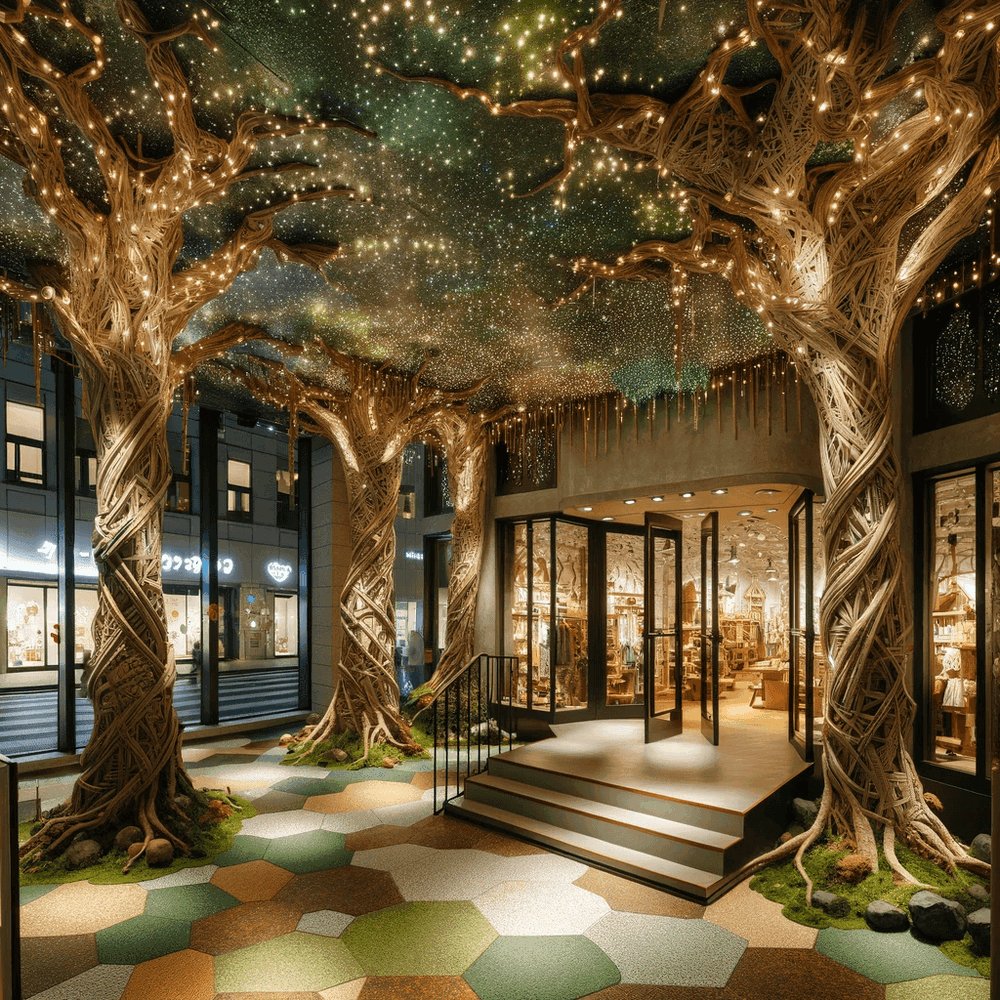
Illustration of a design concept.
Concept shown in the illustration: tie the entrance, window display, and shop fixtures together with shared colors and botanical motifs. Choose a limited palette and repeat it on signs, the window display background, and selected furniture details. Keep a calm, solid-color backdrop around price tags and size labels.
Low-cost first step: decorate one wall section with a flat image of leaves or trees, then check it alongside your actual merchandise. Place light, dark, and patterned clothing in front of the sample to assess how visible the items and labels are.
Maintenance and safety: flat surfaces are easier to clean, while three-dimensional branches require cleaning access and secure fixing. If you choose dimensional decor, agree on materials, loads, and installation methods with the contractor. Keep lights and building systems accessible. Use level flooring with a finish suitable for regular cleaning; check rugs and decorative projections for tripping hazards.
2. Wall graphics: help customers find a section
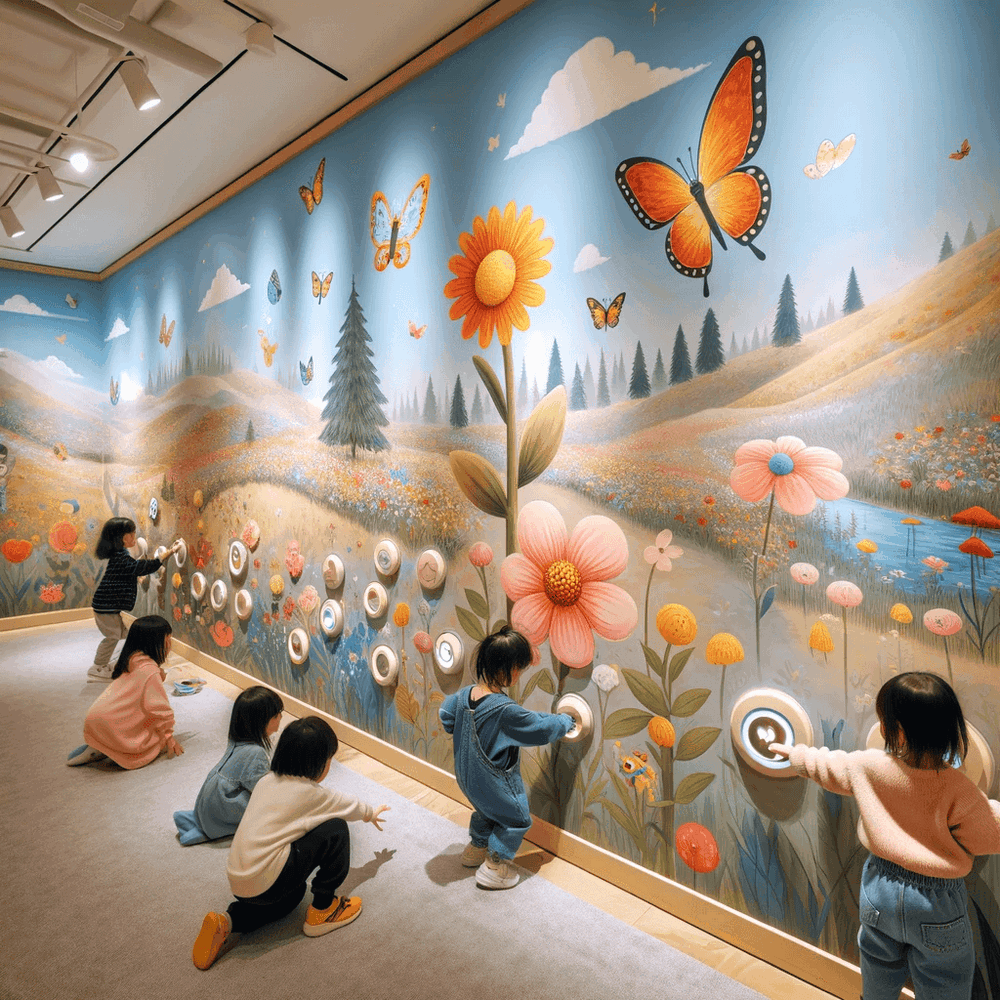
Illustration of a design concept.
Concept shown in the illustration: use the walls for distinctive design and navigation. Pair illustrations with clear text: “Baby clothes,” “Outerwear,” “Shoes,” “Fitting room.” Add specific sizes near the products. Place signs where they will not be hidden by rails after restocking.
Low-cost first step: order a sample of removable graphics for one section. Check readability from the entrance, up close, and with fixtures fully stocked. Ask several visitors to find a particular section, and note where they needed help.
Maintenance and safety: check how the material handles cleaning and whether it leaves marks when removed. At a child’s reach, use continuous surfaces with firmly secured edges. Avoid small removable parts that children could play with. If you plan to add buttons, sound, or other electronic elements, agree on their actual placement, installation method, and maintenance arrangements with the contractor.
3. Fitting room: provide privacy and comfort for an adult and child
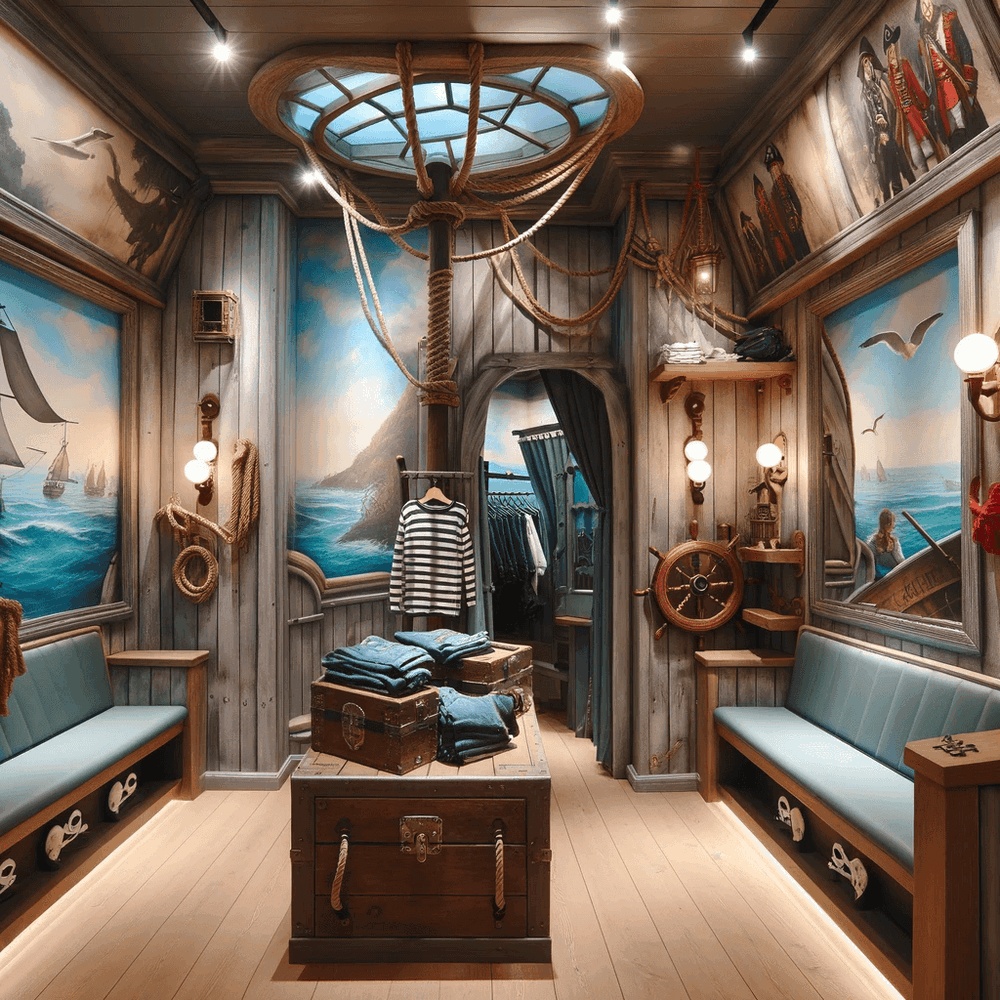
Illustration of a design concept.
Concept shown in the illustration: create a tidy, themed fitting room where customers can change comfortably and assess how an item fits. Allow space for an accompanying adult, a stable seat, clothes hooks, and a fixed mirror. Check that the door or curtain fully closes off the space during fitting.
Low-cost first step: replace the curtain, add a clear occupied sign, and improve the lighting by the mirror. Try the fitting room with a bulky jacket, a bag, and several selected items. Put the decorative design on one surface that is easy to clean and repair.
Maintenance and safety: choose a seat covering and curtain that staff can care for as recommended. Check the mirror, hooks, and seat fixings. Place general closed-circuit television (CCTV) cameras so they do not cover the inside of the fitting room, including through an open door or via a mirror’s reflection. Agree that sales staff will announce themselves and wait for permission before entering.
4. Ceiling and lighting: check product visibility and maintenance access
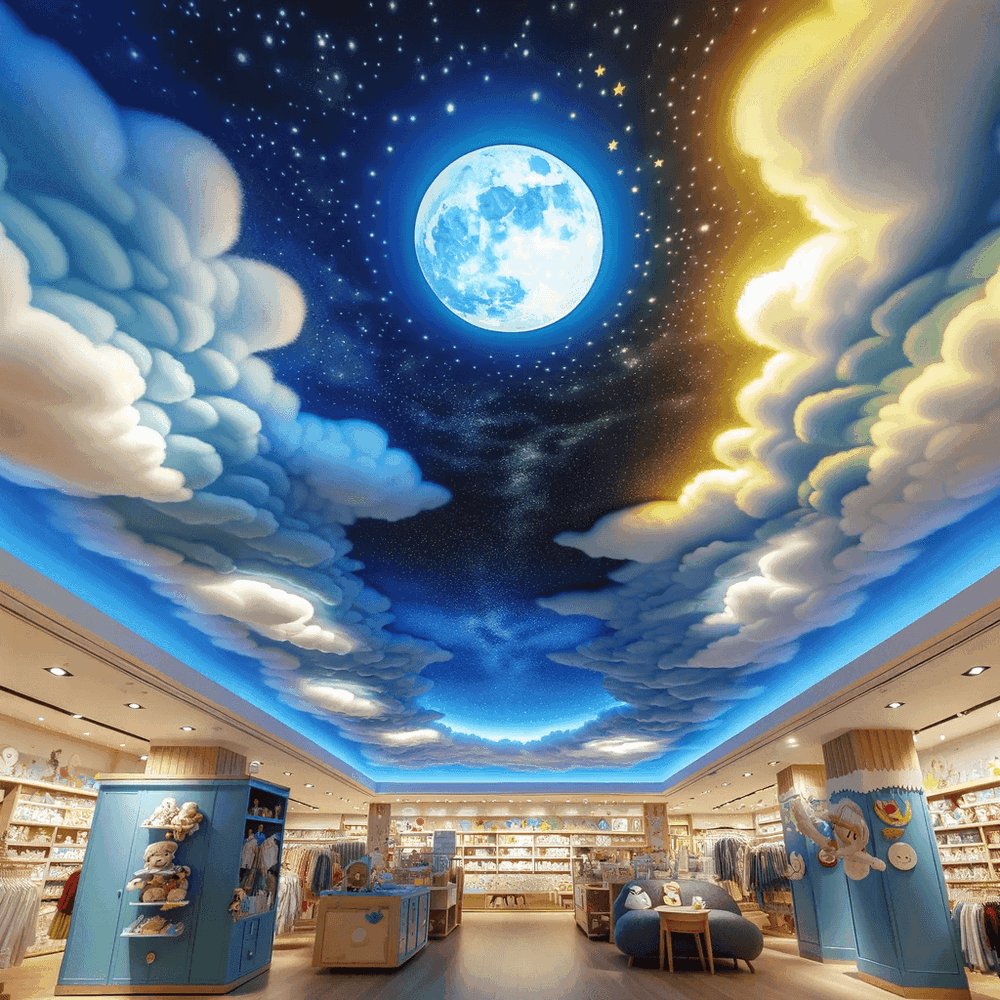
Illustration of a design concept.
Concept shown in the illustration: carry the design into the upper part of the store while providing comfortable light for choosing clothes, reading price tags, and trying items on. Assess lighting at shelf level, on faces in front of the mirror, and over the checkout counter. Check whether a customer or salesperson casts a shadow over the merchandise.
Low-cost first step: ask an electrician whether the direction of existing lights can be adjusted. Compare the same items on the shelf and in the fitting room, and look at glossy price tags from different angles. For the decorative element, start with a simple colored area of the ceiling or an approved flat finish.
Maintenance and safety: suspended elements increase the costs of installation, cleaning, and access to light fixtures. The contractor should check the fixings, electrical load, wiring, and compatibility with existing fire protection systems. Avoid exposed cables in aisles and connections accessible to children. If you choose dynamic lighting, separately agree on its operating modes and maintenance arrangements with the contractor.
5. Eco display: use materials with known properties
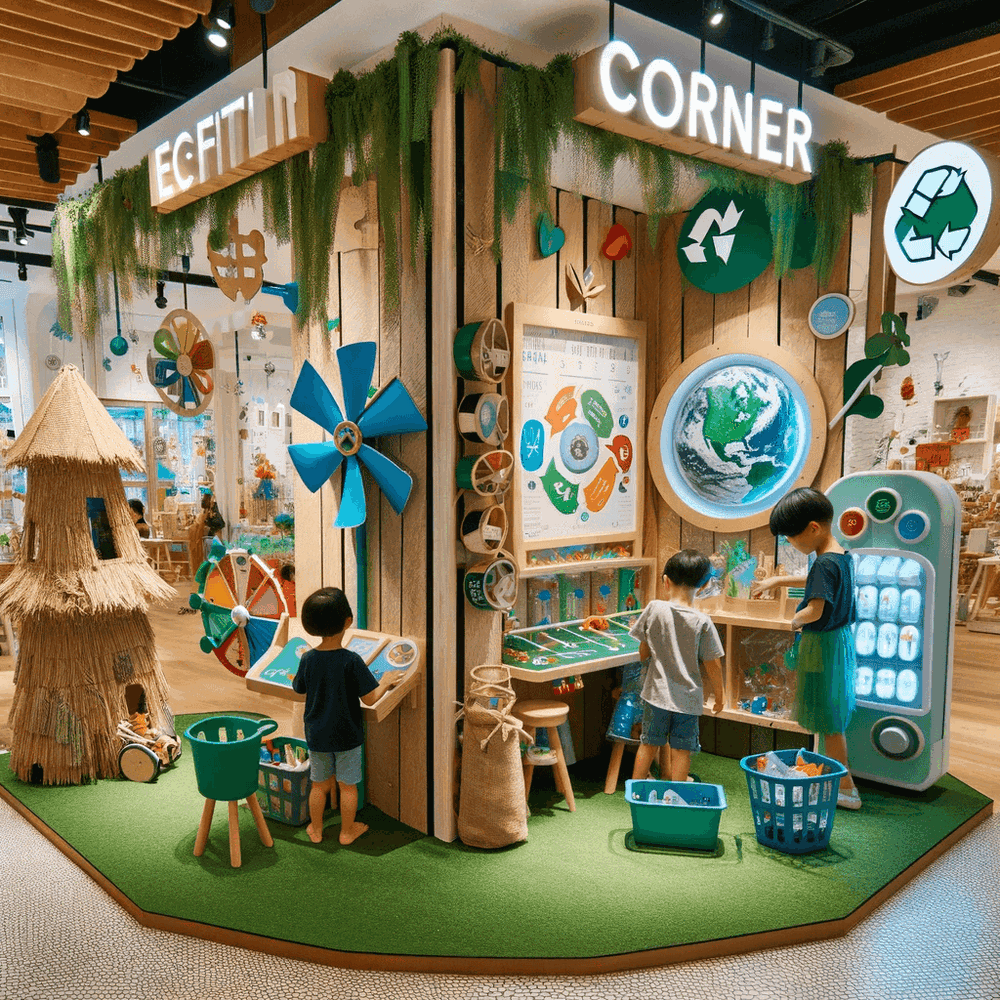
Illustration of a design concept.
Concept shown in the illustration: design a compact product section using reused or recycled materials whose origin can be verified. If you add an explanatory sign, accurately name the material and how it was used—for example, the reuse of a specific shelf. Apply such claims only to elements for which you have evidence.
Low-cost first step: inspect your existing fixtures and choose one sound shelf to refurbish. Before using it, check its condition, finish, fixings, and load capacity. Place a small selection of products on it with clearly readable prices.
Maintenance and safety: include cleaning, surface treatment, fixing, and future inspections in the reuse budget. Keep fixtures in the store free of splinters, sharp edges, and unstable parts. Check packaging and products with unknown properties before including them in the design. For children’s activities, choose a continuous, fixed surface; the accompanying adult should stay nearby. Schedule staff duties so salespeople can serve customers without also being responsible for supervising children.
Check safety before installation and after rearranging
For a store in Ukraine, the Fire Safety Rules in Ukraine, approved by Order No. 1417 of the Ministry of Internal Affairs of Ukraine, apply. Clause 3 of Section II requires a fire safety regime to be established, including procedures for maintaining evacuation routes and inspecting premises after work. To put this into practice, appoint someone to check aisles, exits, and access to fire protection equipment before opening. Assign permanent places for boxes, strollers, and mobile clothing rails away from these routes.
Before ordering materials, obtain documents from the contractor stating their fire hazard ratings: Clause 9 of Section II prohibits the use in construction and production of materials and substances without such ratings. Under Clause 21 of this section, work that constitutes new construction, reconstruction, restoration, technical re-equipment, or major repairs must be carried out on the basis of approved design documentation. Ask a designer to determine the nature of the planned work and check which fire safety, electrical, and accessibility requirements apply to your premises.
Under Clause 4 of Section II, the store manager or an authorized officer must approve fire safety instructions for each room or group of rooms with the same purpose. Such instructions are not drawn up for corridors, lobbies, or restrooms. This requirement applies to retail and storage premises regardless of the headcount thresholds for evacuation plans listed below. Familiarize employees with the instructions during fire safety briefings and post them in visible places.
If you change the layout, update the evacuation plans and instructions required for the premises in accordance with Clause 6 of Section II. Clause 5 sets out when evacuation plans must be prepared and displayed: when 100 or more people are present at the premises; when a separate room accommodates 50 or more people at the same time; on floors of non-residential buildings with two or more floors, when more than 25 people are present on a floor at once; and in single-storey buildings, when more than 50 people are present.
For retail premises where 100 or more people are permanently or temporarily present, or which have at least one separate room where 50 or more people are present at once, the manager must approve an additional instruction alongside the evacuation plan, specifying staff actions for the safe and rapid evacuation of people. All employees involved must practise these actions at least once every six months.
If people are expected to be present at the premises at night, the instruction must also specify actions for nighttime. Plans and instructions must take into account the needs of people with disabilities and other visitors with reduced mobility, as required by the Rules.
After installation, check that furniture is stable and fitted with the fixings specified by the manufacturer. Remove sharp projections, loose parts, and cables people could trip over. Keep mobile fixtures in designated places so staff can restore the agreed layout after cleaning and restocking.
Budget for a trial design, including maintenance costs
The table below is a hypothetical example of an internal budget that you should replace with quotes from your contractors. When deciding which expenses to include in the trial design budget, take the condition of your premises into account. Determine the cost of the main implementation work after a technical inspection and review of the trial results.
| Expense item | One-time, Ukrainian hryvnias (UAH) | Monthly reserve, UAH | What to check |
|---|---|---|---|
| Zone, size, and price signs | 1 200 | 100 | Readability, replacement of damaged labels |
| Wall graphics sample | 1 800 | 100 | Cleaning, edges of the finish, wall condition |
| Fitting room fixture updates | 2 400 | 200 | Privacy, curtain care, fixings |
| Inspection and adjustment of existing lighting | 1 500 | 100 | Scope of the electrician’s work, maintenance access |
| Refurbishing and securing a shelf | 2 100 | 100 | Surface condition, stability, load capacity |
| Total | 9 000 | 600 | Use the reserve as needed |
In this hypothetical example, the first-month budget including the reserve is 9,000 + 600 = 9,600 UAH. Estimate additional construction work, new electrical lines, and replacement equipment separately after an inspection. For each item, record who cleans it, how often it is inspected, and whom to contact for repairs.
Track sizes and analyze displays in Torgsoft for a children’s store
Before rearranging the shop floor, compare the physical display with the recorded stock for each size variant. In Torgsoft, “Склад → Стан складу” (Warehouse → Stock status) displays the recorded quantity, size, and price of an item; the accuracy of this data depends on the transactions entered. To distinguish similar styles, add an image via the “Товар” (Product) form, the “Фото” (Photo) tab, and the “Відкрити фото з файлу” (Open photo from file) button, as described in the photo adding instructions. On the sales form, enable photo display through the “Вид” (View) menu, as described in the item sales instructions.
To compare sizes, use the size sales report. Select the period and the relevant store’s accounting center, apply a product filter if needed, and click “Оновити” (Refresh); refresh again after changing the settings. The number of sales takes returned items into account by subtracting them. Compare actual sales by size for selected past periods with your own observations in the store: which sizes customers ask for, try on, and cannot find on display. Use this comparison to decide which sizes to review in your assortment and how to make them easier to find on the shop floor.
Check the results before major spending
We recommend comparing periods of the same length before and after the trial design, using days with similar trading patterns. Change one element at a time and record other relevant factors: new stock, popular sizes being out of stock, promotions, and changes in hours. This will help you interpret what you observe with care.
- Finding products. Measure the time from asking someone to find a style in a particular size to locating it. Separately record cases where the item is in the inventory system but the salesperson cannot find it on the shop floor.
- Fitting. Record waits for an available fitting room, requests to bring another size, and specific customer comments about the lighting, seat, or privacy.
- Returns. Count returned items separately and record reasons customers volunteer. Compare periods with the same observation window; a customer may return an item after its sale date.
- Maintenance. Record cleaning time, damage, repair costs, and occasions when decor got in the way of restocking.
Hypothetical example: before changing the signs, the total time for ten searches was 40 minutes; afterwards, it was 30 minutes. Average time fell from 4 to 3 minutes, a 25% decrease. This result applies to this particular check; before deciding on a full redesign, repeat the observation with other styles and employees.
Give the contractor the approved zone plan, a list of materials and fixings, cleaning requirements, and maintenance access needs. Expand the concept after checking how easy it is to find and try on products, the upkeep costs, and whether the work is technically feasible.


 Go back to the previous step